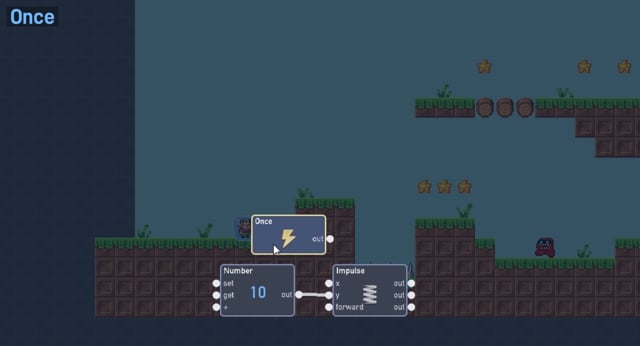
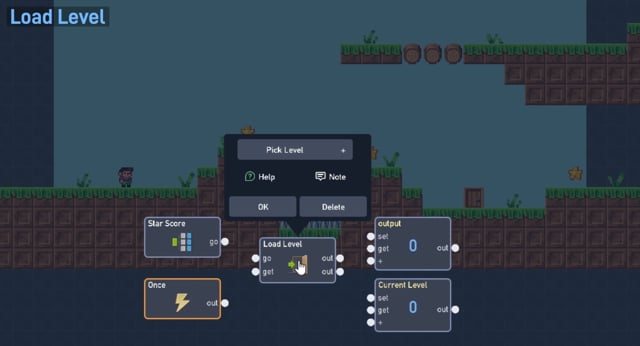
Once
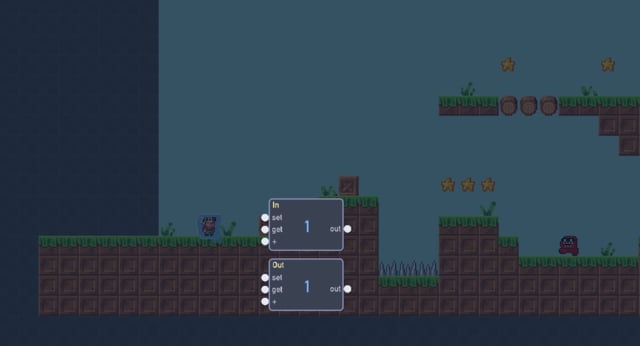
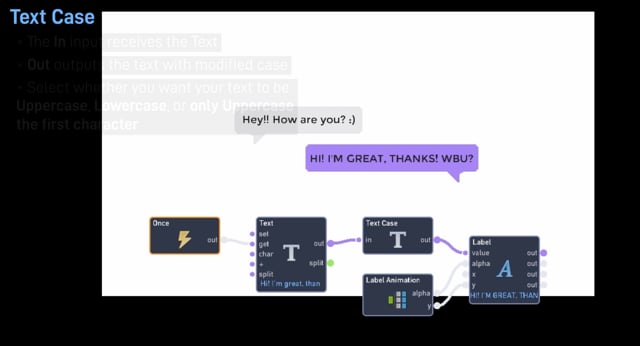
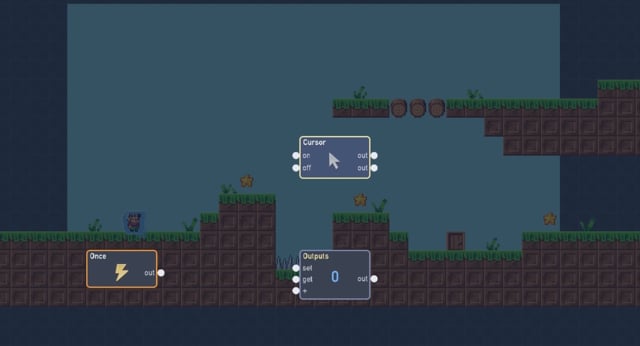
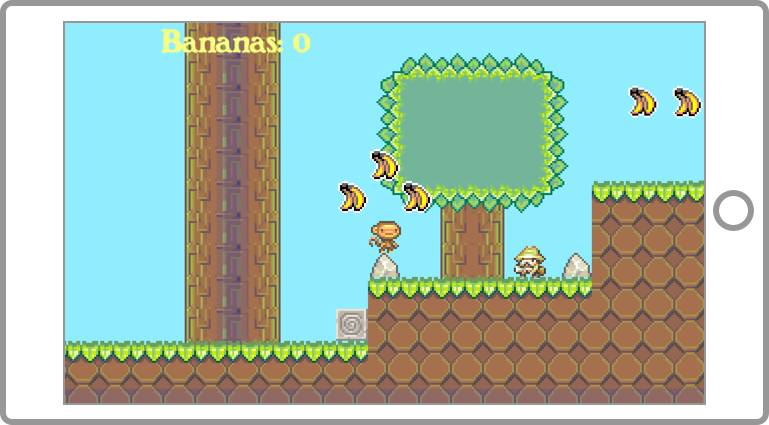
#onceOnce triggers only activate a single time, on the first frame the object exists. For objects placed in the level, that is the first frame after the level loads. Objects created by Spawn, Emit, or Attacher fire it when they appear.
A detailed reference for all Flowlab behaviors with descriptions and tips
Every entry lists the behavior's Properties (set in its panel in the editor), its Inputs and Outputs (the ports you connect), and Tips. Behaviors that are only offered to objects on certain layers say so beside their name. First time using behaviors? Start with Programming with Behaviors.
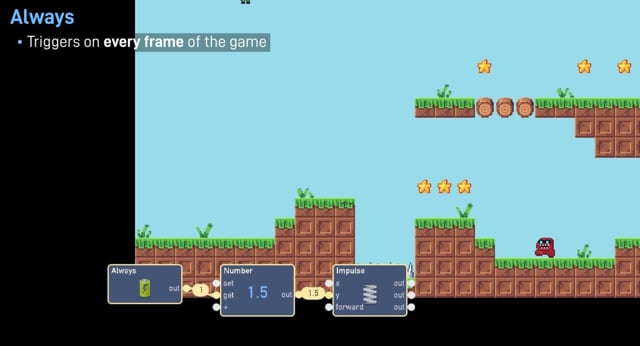
Triggers start a chain of logic. Each one watches for something to happen (a click, a key, a collision, a timer running out) and sends a value out of its port when it does. Most triggers have no inputs of their own, so the usual way to switch one off is to connect its output to a Switch and turn the Switch off.
Once triggers only activate a single time, on the first frame the object exists. For objects placed in the level, that is the first frame after the level loads. Objects created by Spawn, Emit, or Attacher fire it when they appear.
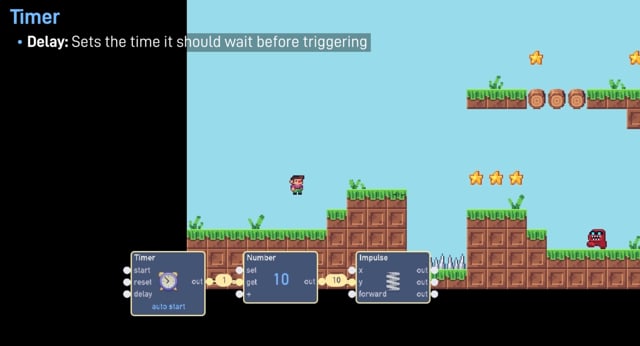
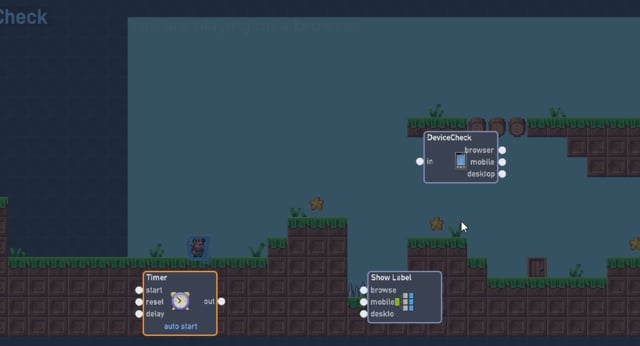
Timer triggers activate after a specified delay value. These are useful any time you wish to trigger an action after a delay, or to repeatedly trigger an action at a consistent interval, or for a certain number of times.
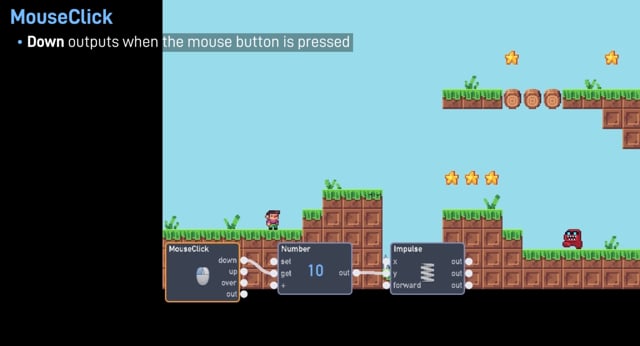
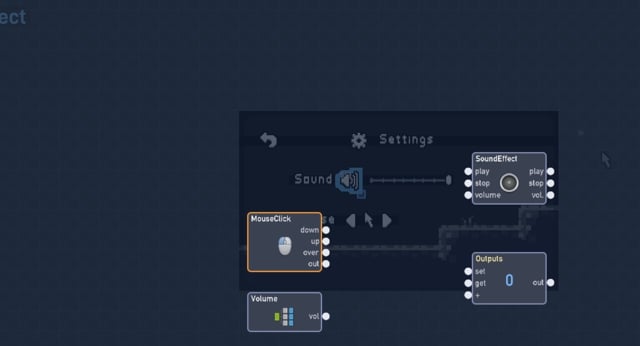
Mouse Click triggers are activated by the player clicking the mouse button, or by tapping the screen on mobile devices.
Flowlab only counts a click on the parts of your sprite that you can actually see. The fully see-through (transparent) pixels around the edges of your sprite are treated like empty space, so clicks pass right through them.
This means transparent pixels act like little holes in your object:
Tip: This is great for irregular shapes like a star, a tree, or a speech bubble — players can click through the empty corners to reach whatever is behind.
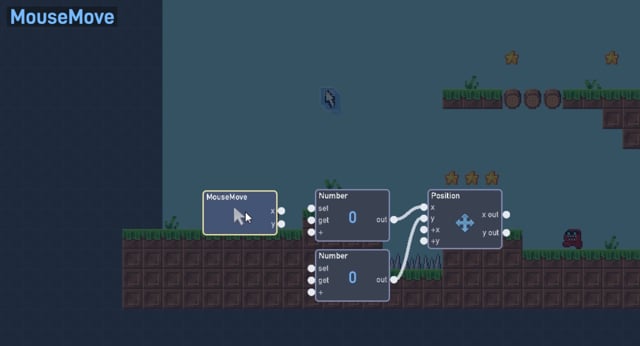
Mouse Move triggers are activated when the mouse pointer is moved, or when the player’s finger is dragged on a touchscreen device.
Mouse Wheel triggers are activated when the mouse scroll wheel rotates, or when the player’s drag scroll is performed on a touchscreen device.
Gesture triggers are activated when the player’s finger is dragged on a touchscreen device. Gestures do not trigger unless the game is running on a touch screen device
There are three gesture options:
When "Capture Gestures Anywhere" is checked, you can select whether the touch position uses game or screen coordinates. When using game coordinates, the returned position will correspond to the coordinates of the game world. When using screen coordinates the position will correspond to the screen, meaning that even when scrolling through the game level with a camera, the top left corner of the screen will always be 0,0. When not using a scrolling camera, both coordinate types are identical.
When "Capture Gestures Anywhere" is not checked, you can select whether the returned touch positions are relative to the screen or the current object.
The visible outputs depend on the selected gesture:
Drag mode:
LockedMouse captures the system mouse pointer and outputs its relative motion each frame as x and y pixel amounts. This is useful for mouse-look style controls, where you want continuous motion rather than an absolute cursor position.
While the mouse is captured, the system pointer is hidden and confined to the game. The browser can release the capture on its own (for example when the player presses Escape or switches tabs), and the off output activates when that happens.
The first output's label changes based on what the trigger is bound to:
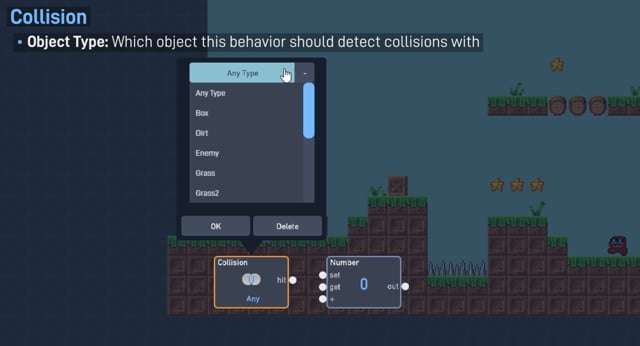
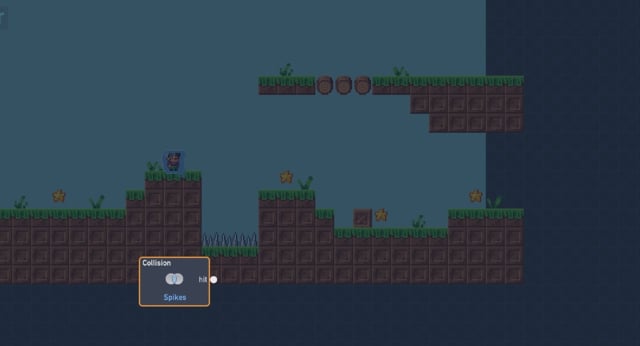
Collision triggers are activated when the object collides with (or touches) another object in the game. In order for a collision event to trigger, both this object and the object it touches must have collisions enabled. Collisions are enabled in objects that have is solid or enable collisions selected in their physics properties. Two objects that only have enable collisions (and are not solid) pass through each other but still trigger a collision, which is useful for pickups and trigger zones.
By default, colliding with any object will activate this trigger, but there are properties to change this behavior. Setting the "Object Type" property to a specific type will restrict the trigger to only activate when touching objects of that type. When an object type is selected, the “Object Name” property select box is populated with all of the instances of that object type in the current level, so that a single object instance can be selected as well. In this way, the collision trigger can be restricted to only activate when touching a specific object in the level.
Collisions can also be restricted to only activate when occurring in a specific direction as well. The "Top", “Bottom”, “Left”, and “Right” check boxes allow you to restrict the trigger to only occur when a specific side of this object collides with another object.
Sensor triggers activate when objects enter or leave a region around this object. The detection region follows the object as it moves.
Unlike the Proximity trigger, the Sensor is event-driven: it activates the moment an object enters or leaves, instead of checking every frame. This keeps it efficient even when there are many objects in the level.
The Sensor detects objects through the physics system, so both this object and the objects it detects must have collisions enabled (is solid or enable collisions in their physics properties). Objects with collisions disabled are never detected, and if this object has collisions disabled the Sensor will not trigger at all.
By default the Sensor detects any collidable object, but it can be restricted to a specific object type, or to a single named object.
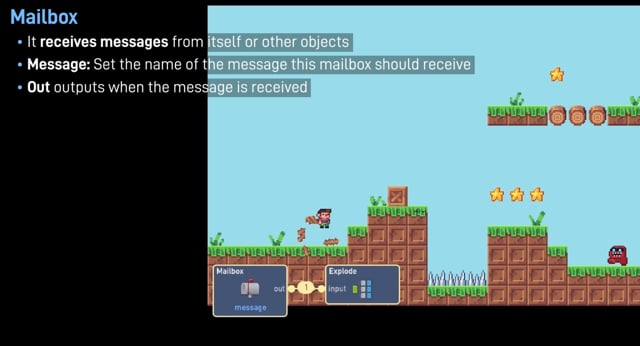
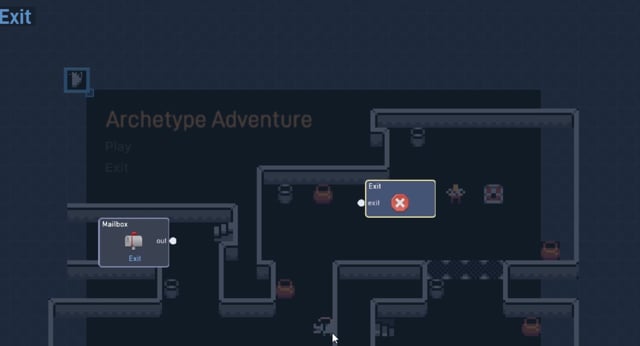
Mailbox triggers activate when receiving a Message from another object. Messages and Mailboxes are how objects communicate with each other.
This is the name of the Message to listen for.
Which objects receive a message depends on the sender's target. When a Message uses Choose object and picks only an object type, every instance of that type with a matching Mailbox receives it (the instance defaults to Any Object). When a specific instance is selected, only that object receives it.
These behaviors hold values and make decisions. Numbers, Text, and Lists are the data that flows between ports, and Filter, Switch, Router, and Logic Gate decide where it goes next.
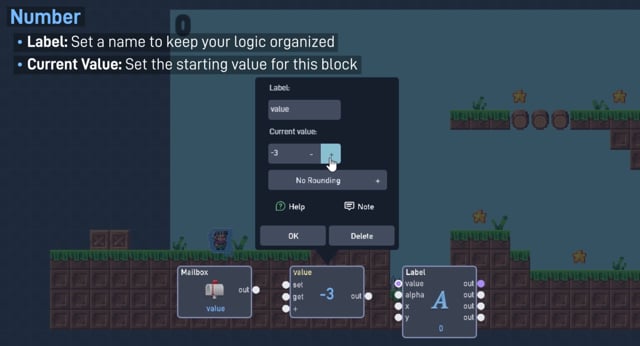
Number blocks contain a single number value. They are a useful place to store a character’s score, health, number of items collected, or anything else that requires keeping track of an amount.
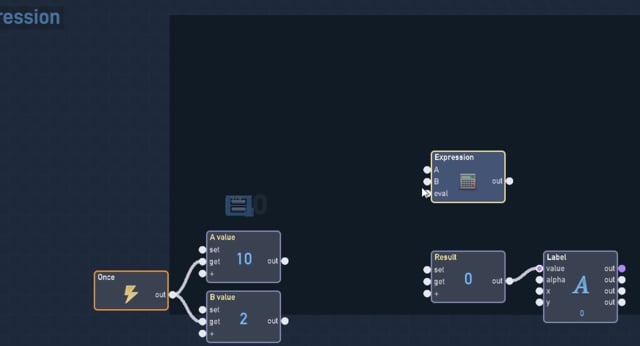
Expression blocks contain an arithmetic or algebraic expression to evaluate.
There are two properties by default, named "A" and “B”, that correspond to variables available for use in the expression. These properties can be set manually, or updated through the “A” and “B” inputs.
The "Expression" property can contain an expression to be evaluated, which can optionally use the A and B variables. The following operators are available for building expressions:
+-()*/%<, >, <=, >=, ==, !=&& (and), || (or), ! (not)condition ? valueIfTrue : valueIfFalseThe output is always a number, so a comparison needs the conditional to turn its true or false into a value: A > B ? 1 : 0 sends 1 when A is larger, and A > 0 ? A : 0 clamps A to a minimum of zero. A bare comparison such as A > B outputs 0. Math.PI and Math.random() are also available.
As an example, if the value of A is 4 and the value of B is 2, then the expression (A+B)*A/B would evaluate to 12.
In addition to the operators listed above, the following functions are also available:
The Custom Behavior block lets you write a block of code that runs inside your game. You define the inputs and outputs it needs, write the code that processes them, and the block behaves like any other behavior in your logic.
Each data input stores the most recent value sent to it. When the built-in eval trigger input is activated, the code runs with those stored values available. Read from the inputs, do your calculation, and send results out through the outputs you defined.
The code is a pure function: it reads its inputs and sends values to its outputs, and has no other effects on the game. The code is written in Haxe, a typed language with JavaScript-style syntax (the same language the Flowlab engine itself is written in). For a gentle introduction, see Scripted Behaviors in the behaviors guide.
The inputs are the ones you define, plus a built-in eval trigger. Sending a value to a data input stores it; activating eval runs the code with the latest stored values.
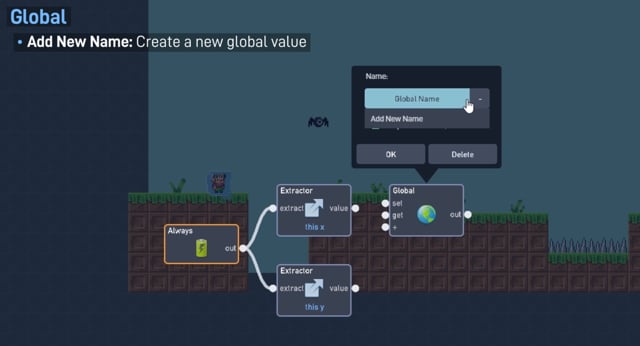
Global Variable blocks contain a single value that can be updated and accessed from any object in the game. All Global Variable blocks using the same name will contain the same value. Updating one Global block updates all global blocks with the same name (and evaluates their outputs). Global blocks are useful for storing values that need to be accessed by many different unrelated objects.
Global blocks do not have their values reset when changing levels
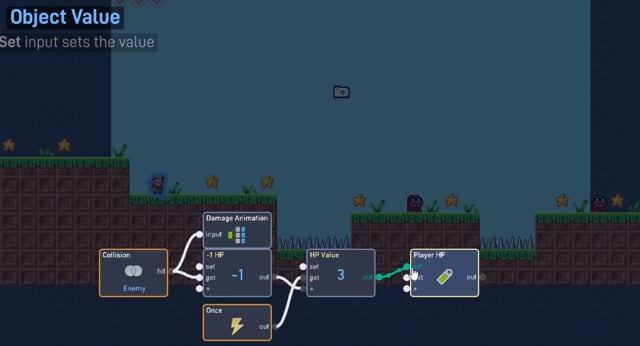
Object Variable blocks contain a single named value that is unique to a specific object. Every instance of an object type has its own copy, so two enemies of the same type can each track their own health. An Object Variable can be accessed and updated by other blocks in the same object, or extracted from an object using an Extractor block.
Ease blocks are used to generate and output a set of interpolated (or eased) values between two numbers. This is sometimes also called "Tweening" when used for animations. Easing is a great way to smoothly animate objects or their properties, for example to fade an object's transparency in or out, or to move an object smoothly to a new position.
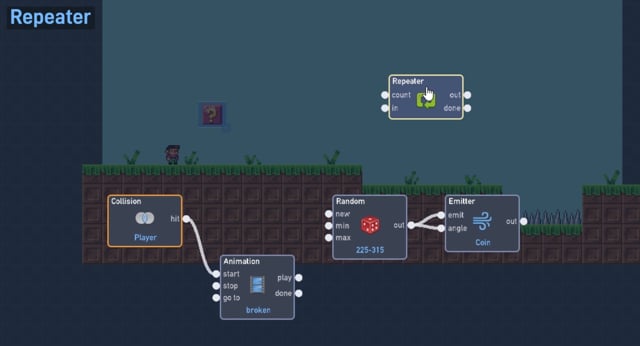
A Repeater block activates its output multiple times when its input is activated. This can be used to trigger an action more than once.
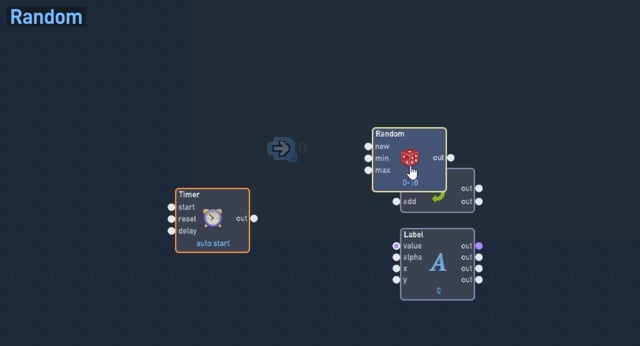
Random blocks generate random whole numbers, and are useful for adding unpredictable behavior to game objects. For a random decimal, generate a larger whole number and divide it with an Expression. When combined with a Filter block, they provide a simple way to randomly select between various available logic flows.
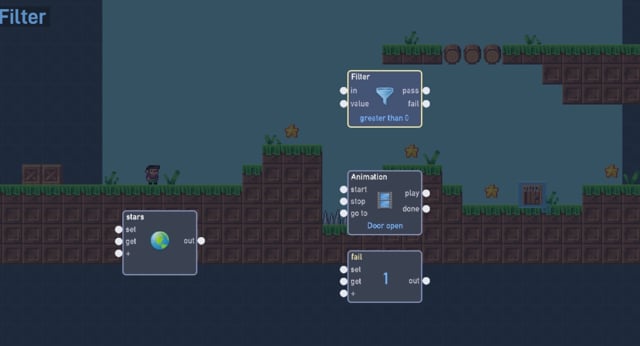
Filter blocks are a way to make decisions based on an input. Input values are checked against an expression and if the result is true then the input value is sent to the "Pass" output, otherwise it is sent to the "Fail" output.
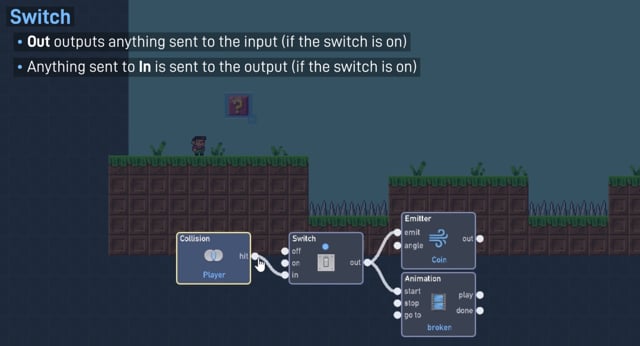
Switch blocks provide a mechanism to enable or disable branches of logic.
Switches can be turned on or off by setting the property manually, or by activating the "On" or "Off" inputs.
Any values arriving on the "In" input will be sent to the "Out" output when the switch is turned on, otherwise they will be ignored.
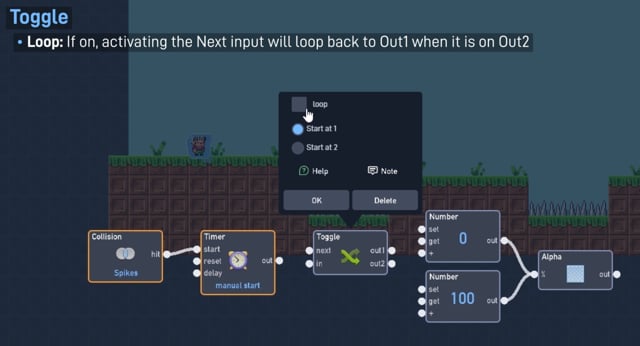
Toggle Switch blocks provide a way to switch back and forth between two possible options.
The "Loop" property is enabled by default. This enables the toggle to continue to switch back and forth between its two outputs. When looping is disabled, the toggle will only switch one time, and repeatedly activating the "Next" input will have no effect.
By default output one will start as the currently active output, but this can be updated in the property panel.
Activating the "Next" input will cause the currently active output to be switched.
Any values sent to the "In" input will be sent to either "Out1" or "Out2", depending on which one is currently active.
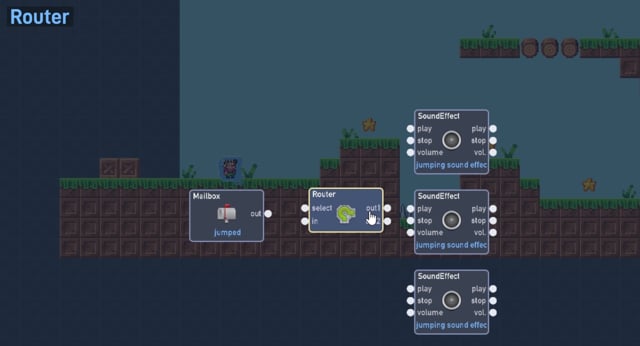
Router blocks provide a mechanism to route between different logic flows
Values sent to the in input will get sent to the selected outputs.
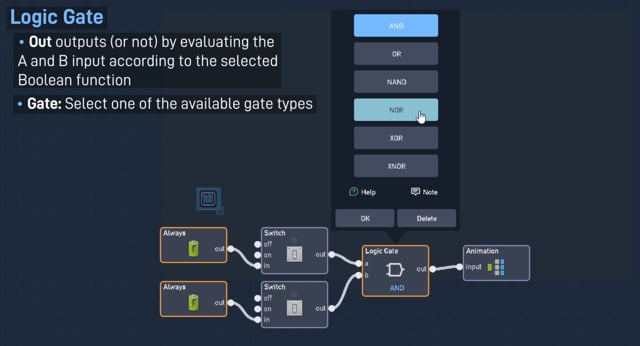
Logic gates are blocks that implement Boolean functions. In other words, they activate their output depending on which of the inputs (A and B) are active, if any. For example, in an AND gate, the output is only active when both inputs are active.
An input is considered active if it is being sent any value other than 0 (unless treat 0 inputs as true is enabled). The two inputs only count together when their values arrive within the time slack window, so connect both inputs to things that fire at around the same time, or increase the slack.
Boolean functions are often described using Truth Tables, which can be helpful to illustrate how each function behaves. Below are the truth tables for each of the available logic gates in Flowlab:
AND gate is active when both inputs are active:
| A | B | Out |
|---|---|---|
| on | on | on |
| on | off | off |
| off | on | off |
| off | off | off |
OR gate is active when either inputs are active:
| A | B | Out |
|---|---|---|
| on | on | on |
| on | off | on |
| off | on | on |
| off | off | off |
NAND gate is active unless both inputs are active
| A | B | Out |
|---|---|---|
| on | on | off |
| on | off | on |
| off | on | on |
| off | off | on |
NOR gate is active when neither input is active. There is no separate NOT gate: a NOR gate with only input A connected acts as NOT, firing when A is inactive:
| A | B | Out |
|---|---|---|
| on | on | off |
| on | off | off |
| off | on | off |
| off | off | on |
XOR gate is active when one single input is active
| A | B | Out |
|---|---|---|
| on | on | off |
| on | off | on |
| off | on | on |
| off | off | off |
XNOR gate is active when both inputs are on or off
| A | B | Out |
|---|---|---|
| on | on | on |
| on | off | off |
| off | on | off |
| off | off | on |
Components act on the game world: they play sounds, create and attach objects, apply physics forces, move the camera, and let objects talk to each other. Angles throughout use degrees, where 0 points right and 90 points down.
Sound blocks play a sound effect or music loop.
There are a few ways to select a sound to play. The simplest way of selecting a sound is to simply choose from the list of default, built in sound effects in the property panel. To add a sound or song not available in the list, a URL link can be added instead. Links must be .mp3 files, and must follow two rules:
You can also design your own sound effects and music loops with the built-in sound creator. Choose the Created Sounds tab in the sound picker to make a new sound, or to select one you have already made, and use the Edit Sound button to change it later. Created sounds are saved to your library and can be used in any of your games. Free accounts can save up to 10 created sounds.
Once a sound is selected, it can be previewed using the play button. The starting position of the sound can be selected directly in the preview waveform.
There are two available playback modes, Sound Effect and Streamed Music.
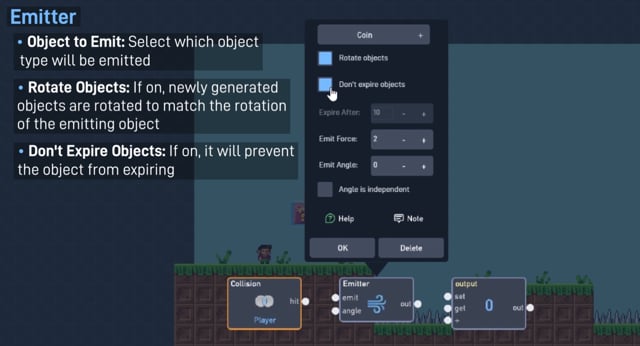
Emit blocks spawn new, temporary objects into your game level and send them moving in a specific direction. This can be useful for creating projectiles or special effects like smoke, dust, or bits of debris.
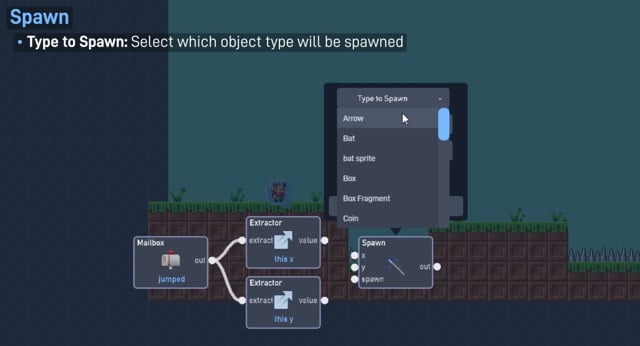
Spawn blocks cause new objects to be created and added to your level. This is useful for adding new objects to your game level while it is running.
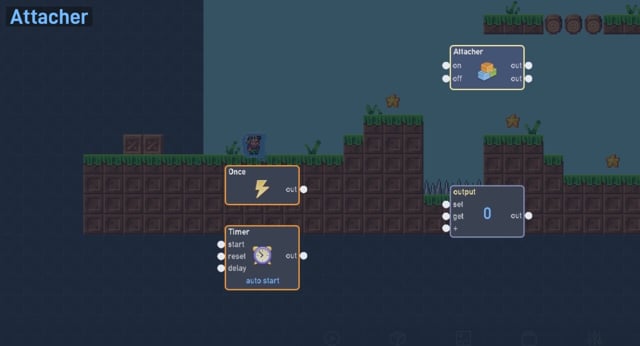
Attacher blocks allow objects to be attached to each other. Attached objects are aligned by the center of their sprites and move together on the screen. When an object is attached it has no physics and cannot trigger Collisions, Proximities, or Raycasts.
Physics Joint blocks allow objects to be attached to one another using a physics connection.
There are three types of Joints:
0 then the joint is not breakable. If greater than 0, then the
joint will break if it becomes stretched too far. Larger fragility values
makes the joint break more easily.
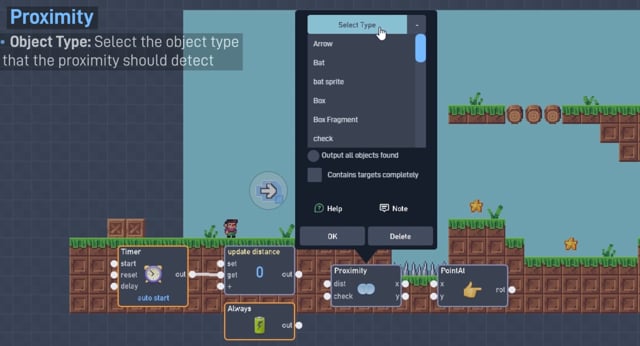
Proximity triggers activate when another game object gets close to the current object. The check runs only when the check input is activated, so connect a Timer or Always to it. For an event-driven alternative that needs no polling, see the Sensor trigger. The "Trigger Distance" property is the distance (in pixels) that an object must come within to activate the trigger. In order to help visualize the distance, a circle indicator is shown around the current object that changes in size to reflect the trigger distance as it changes.
This selects which object positions are returned when the trigger is activated:
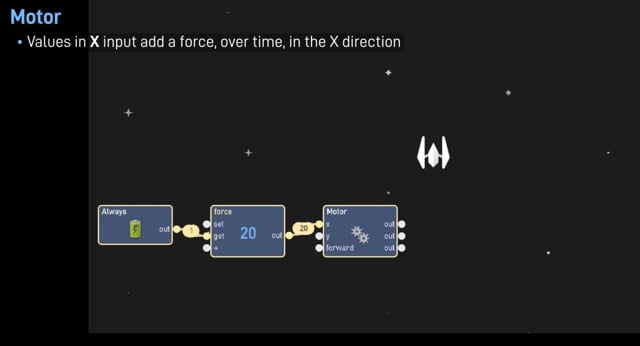
Push Motor blocks add a physical force to the object over time. This will cause the object to slowly speed up as its velocity increases over time (think of a car or a ship, that accelerates gradually). The more mass an object has (the larger it is), the more force will be required to move it.
Spin Motor blocks add a physical rotation force to the object over time. This will cause the object to spin faster as its angular velocity increases over time (think of a wheel on a car). The more mass an object has (the larger it is), the more force will be required to rotate it.
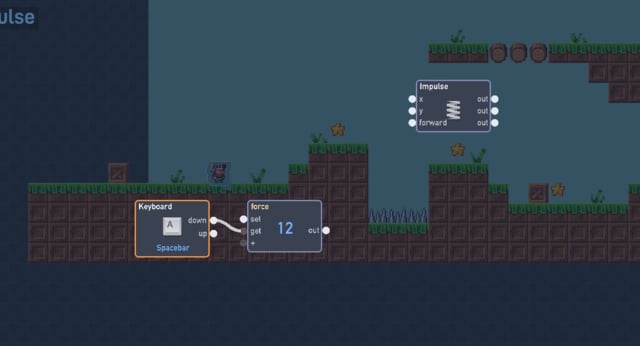
Impulse blocks add a physical force to the object immediately, instantly increasing that object's velocity (speed) like a spring. The more mass an object has (the larger it is), the more force will be required to move it. This is the usual way to make a character jump: send a negative Y impulse when the jump key is pressed.
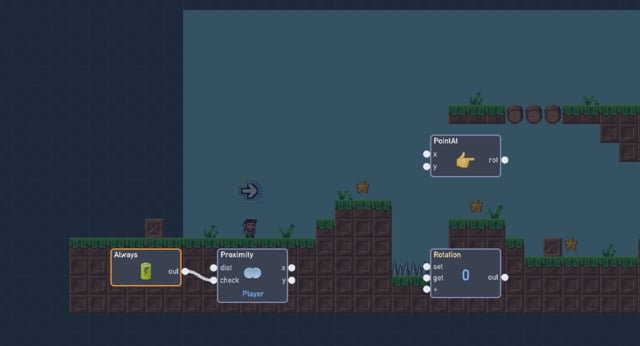
Point At blocks cause this object's forward direction to rotation towards a given x/y position on the screen.
Destroyer blocks cause this object to be removed from the game. All behaviors in the destroyed object will stop running, and it will be removed from the level.
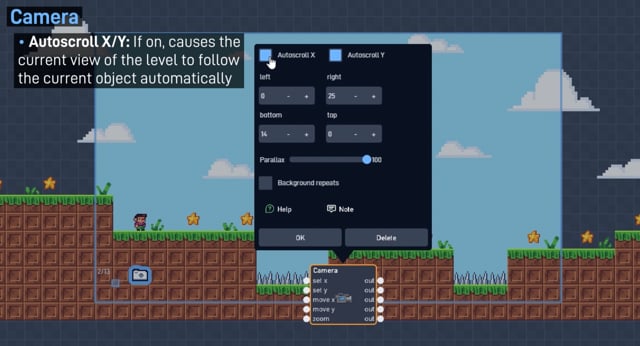
Camera blocks cause the game to scroll as the current object moves around the level. The background can scroll independently (called a parallax effect) to give an illusion of depth.
Please note: camera coordinates refer to the top left of the visible rectangle shown by the camera.
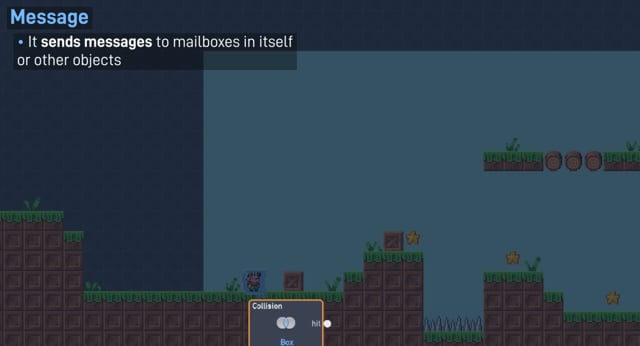
Message blocks are a way for game objects to communicate with one another. An object can send a Message to another object, containing a value, which will show up in the other object's Mailbox.
The message can be routed to a target object a few different ways:
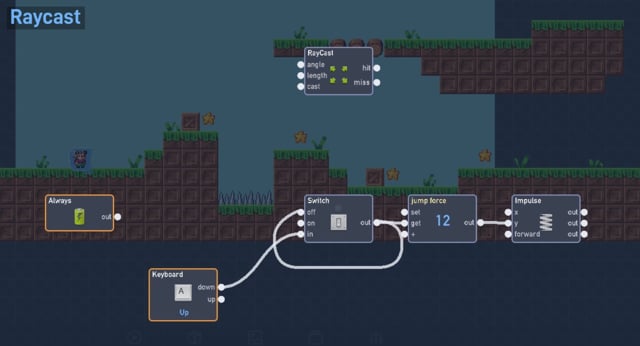
RayCast sends out an invisible ray from your object, and activates the hit or miss output depending on whether the ray intersects another object. This is useful for checking an object's surroundings, for example to see if your object is touching the ground, or near another type of game object.
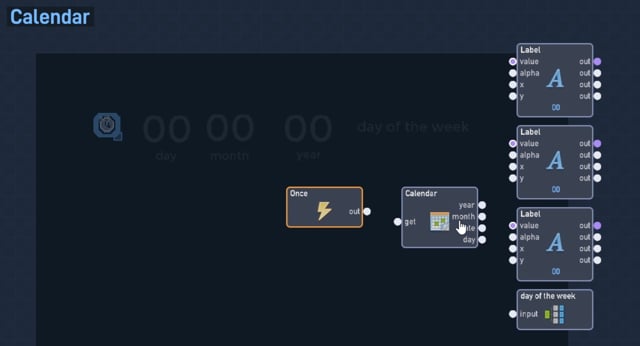
Calendar blocks allow your game to check the current date, in the local time zone of the player's device.
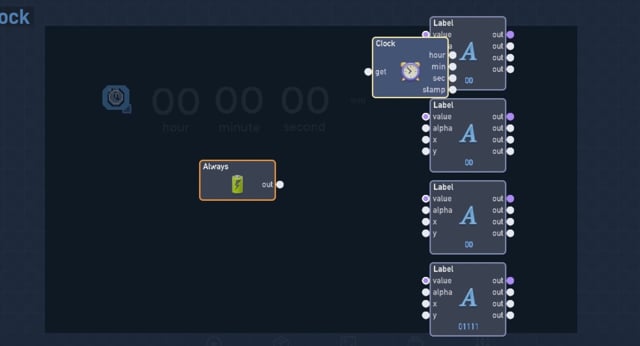
Clock blocks allow your game to check the current time, in the local time zone of the player's device.
Each Property behavior sets one attribute of this object, such as its position, rotation, size, transparency, or colors. Most pass the value they receive straight through to a matching output so several can be chained.
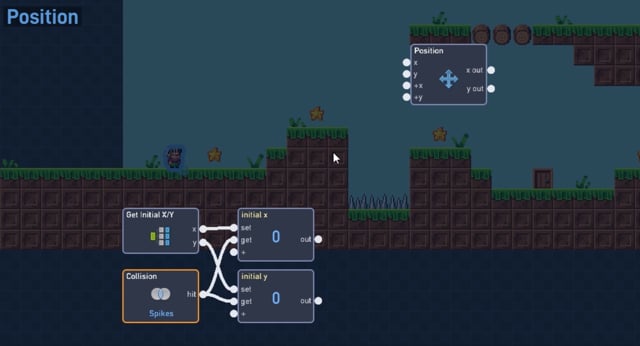
Position property blocks enable the object's position in the level to be updated. The object's origin it at its center, so setting the position of an object to x:16, y:16 will move the object so that its center is at the point 16,16.
Position blocks can operate using either pixel or grid positions. When using pixel positions, input values are interpreted as pixel x/y positions in the level. When using grid positions, input values are interpreted as grid positions instead. Each grid cell is 32 x 32 pixels, so a grid position of (2,2) is equivalent to the pixel position (64,64).
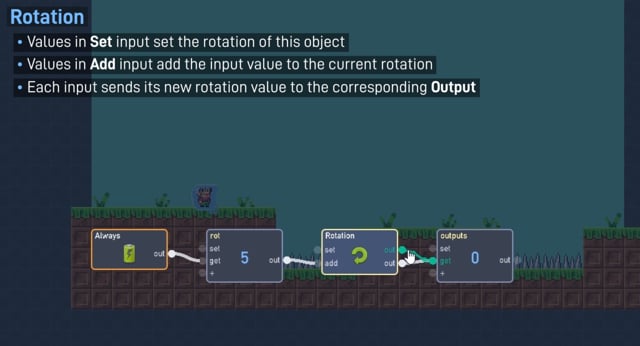
Rotation blocks update the current object's rotation, in degrees. Rotating an object changes its Forward direction, and rotates its Sprite. When an object is created, its rotation is 0. Rotating an object by 90 degrees would mean its new forward direction would be pointing down towards the bottom of the screen.
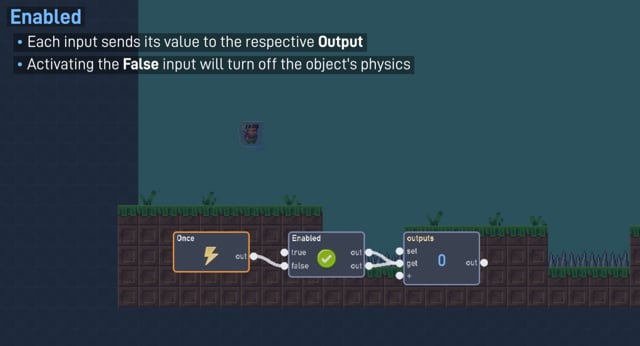
Enabled blocks allow the object's physics to be turned on and off. An enabled object behaves normally, but a disabled body does not collide with other objects or move via physics forces like gravity. By default, this block is set to "enabled".
Animation blocks can start and stop the playback of Sprite Animations that have been created in the Sprite Editor.
Spin blocks allow the current object's angular velocity (rotation speed) to be set directly. Speed is given in "rotations per second", so a spin speed of 1 will cause the object to start rotating at a speed of once per second (360 degrees per second).
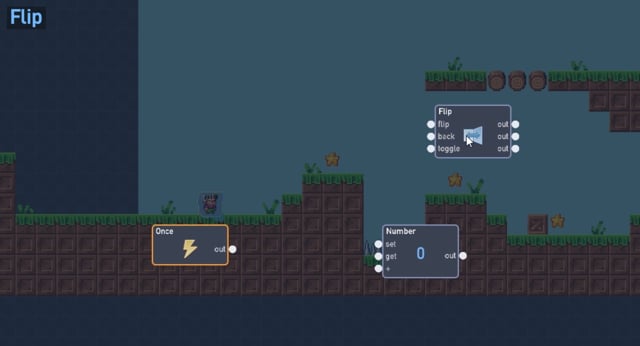
Flip blocks flip both object's sprite and current forward direction. For example, if the object's forward direction is pointing to the right, then if it is flipped, the forward direction will be pointing left, and the sprite will be displayed reversed on the x axis. Flip can operate either horizontally (x axis, the default) or vertically (y axis).
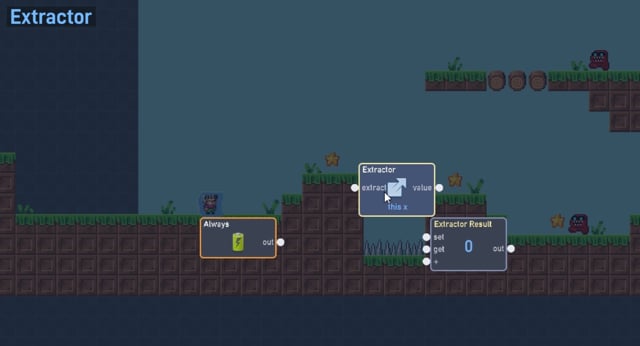
Extractor blocks retrieve a property from an object and output its value. Extracting the properties of objects is useful to compare relative positions, or check an object's visibility, rotation, or speed.
The "Extract Property" selector lists the available properties to extract. The possible options are:
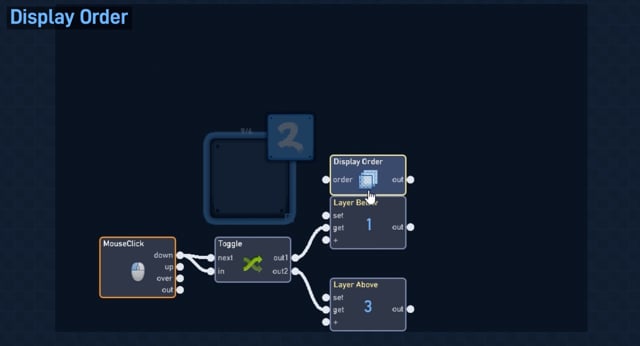
Update the object's display order. Lower numbers will display behind, and higher numbers will display in front.
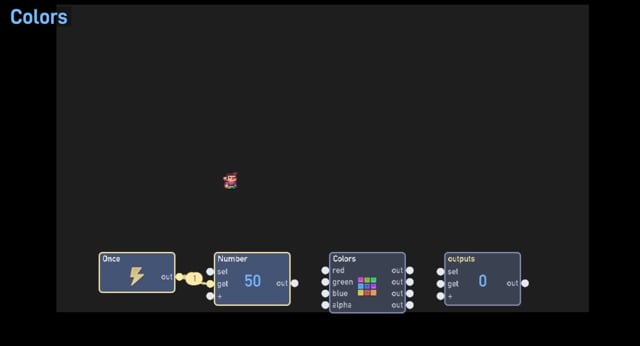
This block allows the object's sprite colors to be modified during gameplay. All input values are percentages from 0 to 100. For example, sending a value of 50 to the red input means the red channel of the sprite will be set to 50%.
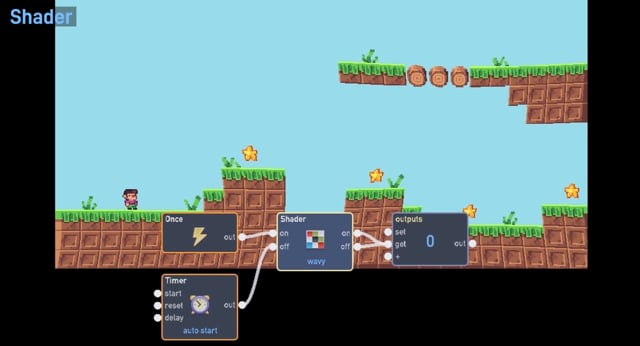
A Shader is a visual effect applied to the rendered game, to one of its layers, or to a single object. Flowlab provides a selection of shaders that can be switched on and off, and most of them have inputs so their parameters can be animated while the game runs: a Timer feeding a rising number into a Scroll shader makes a conveyor belt, an Ease into a Dissolve makes an enemy crumble away, and so on.
Each shader keeps its settings in the properties panel, and the runtime inputs override those settings while the game plays. The set of inputs changes with the selected type; the on and off inputs are always present.
Which target a shader draws on is set by the Mode property. Layer modes apply the effect to everything on that layer; This object only applies it to the object holding the behavior, and the effect stays inside the object's sprite, which is why a few shaders behave differently there (noted per type below).
Every type has the on and off inputs. The rest depend on the selected type and are listed by type below. Ranges given are the useful ones; only Sphere's wrap is clamped, every other input takes whatever number it is sent. Percent inputs run 0 to 100, and every input keeps its last value until it is sent again.
Text behaviors work with words and characters, and List behaviors work with ordered collections of numbers or text. Lists are shared between the behaviors that hold them, so a change in one place is seen everywhere unless you copy the list first.
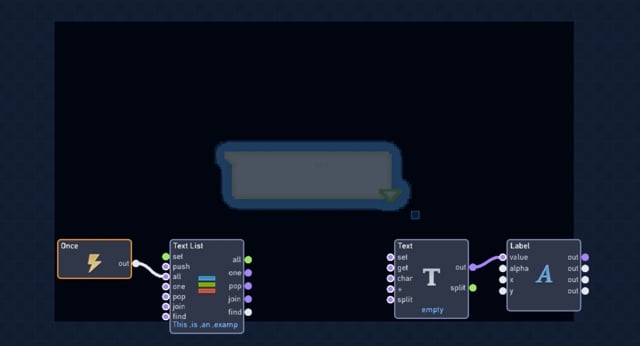
For the text "Hello World", splitting on a space
(" ")will result in the list("Hello", "World")For the text "Hello World", splitting on empty text
("")will result in the list("H","e","l","l","o"," ","W","o","r","l","d")For the text "a-b-c-d", splitting on hyphen
("-")will result in the list("a","b","c","d")
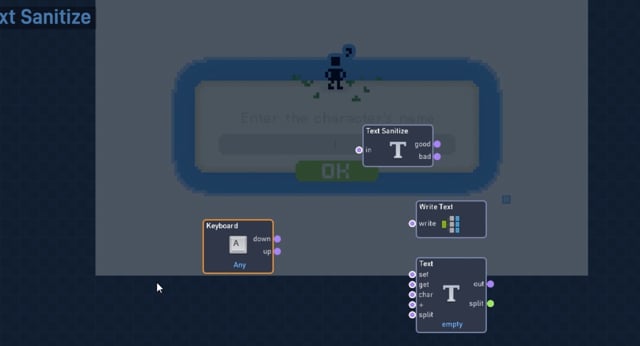
Checks Text for characters that cannot be displayed (anything outside printable ASCII) and routes it to either the good or the bad output. The text itself is not changed.
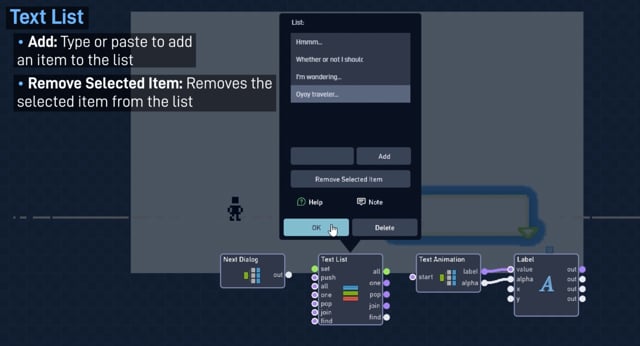
Elements can be added by typing (or pasting) in a value and clicking Add. To remove an item, highlight it and click Remove. To insert an item in an existing list, highlight the item currently at the position to be inserted and then click Add.
("a","b","c"), sending the value 3 to this input will
output "c". Positions below 1 give the first item and positions past the end give the last.
("a","b","c"), then sending "-" to the join input
will output the text "a-b-c"
("a","b","c"), then the input value "b" will output 2, while an input
value of "x" will return 0.
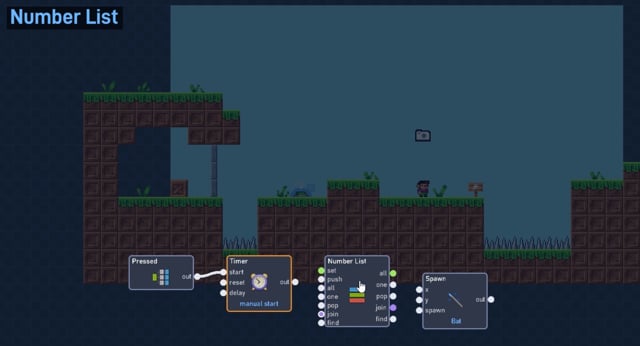
Elements can be added by selecting a value and clicking Add. To remove an item, highlight it and click Remove. To insert an item in an existing list, highlight the item currently at the position to be inserted and then click Add.
(100,200,300), sending the value 3 to this input will
output 300. Positions below 1 give the first item and positions past the end give the last.
(100,200,300), then sending "-" to the join input
will output the text "100-200-300"
(100,200,300), then the input value 200 will output 2, while an input
value of 3.1415 will return 0.
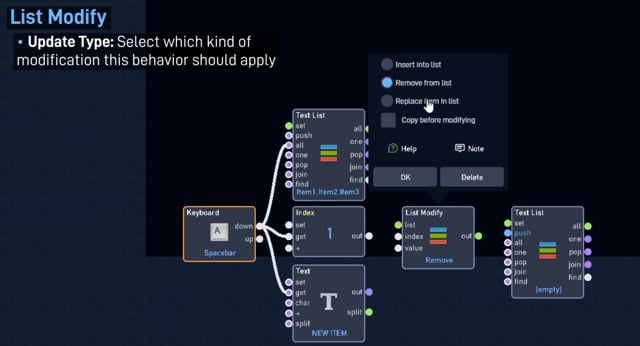
("a","c") then
inserting "b" at index 2 will result in a list of ("a","b","c")("a","b","c") then removing
the item from index 2 would result in the list ("a","c") ("a","b","c") then replacing
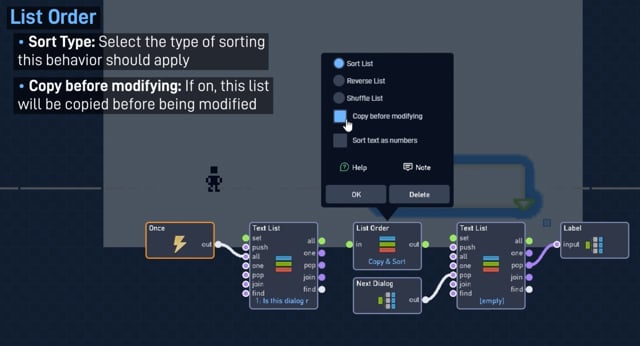
the item at index 2 with the input "x" would result in the list ("a","x","c") ("a","b","c") becomes ("c","b","a")("2. Item Two", "100. Item One Hundred", "1. Item One") Alphabetically results in
("1. Item One", "100. Item One Hundred", "2. Item Two"), because 1 appears
alphabetically before 2. This may not be what you want, so selecting
Sort text as numbers causes the text to be sorted Numerically instead,
resulting in ("1. Item One", "2. Item Two", "100. Item One Hundred").
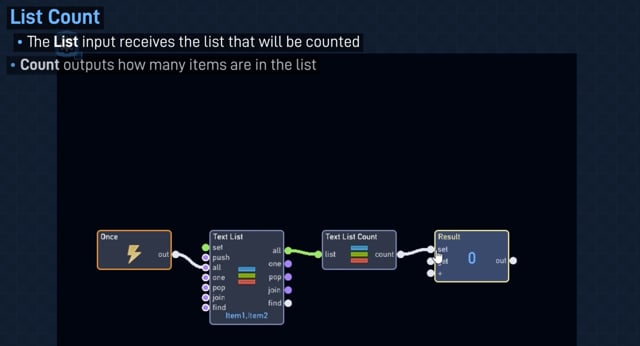
("a","b","c") then the output will be 3.
GUI behaviors draw on the screen rather than in the level, so they stay put while the camera scrolls. Position them by dragging them in the editor.
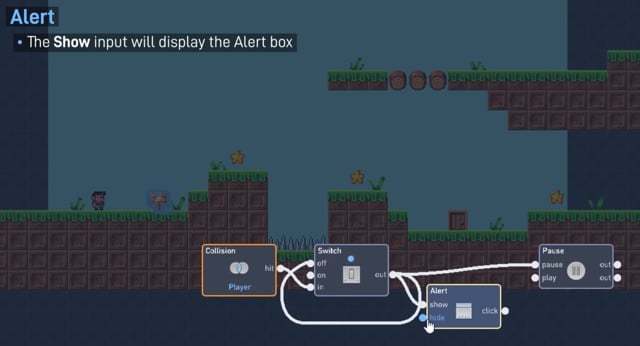
Alert blocks display a simple dialog window with a message, and button to close. The title, message, and button text, as well as the colors of each element can be selected in the properties panel. Activating the "Show" input displays the alert window. When the player clicks the button the value 1 will be sent to the "Click" output, and the window will close.
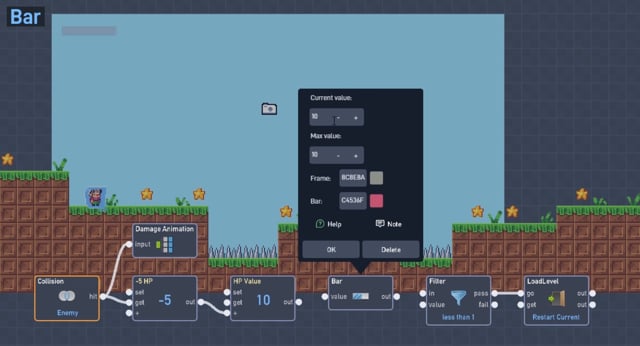
Bar blocks display a simple progress bar element on the screen. The bar's progress value is displayed as a percentage of its maximum value. For example, if the max value is 8, and the current value is 4, then it would display as (4/8 = 0.5) 50% full.
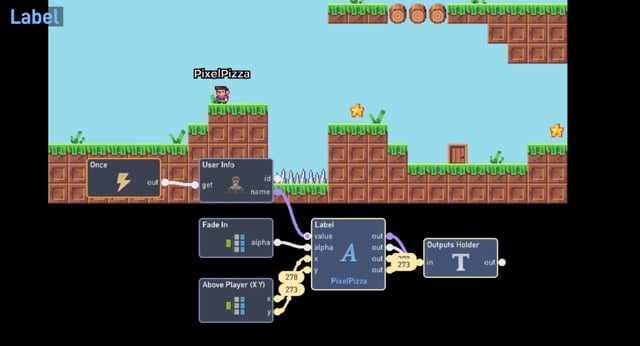
By default the label has 4 inputs. Enabling the Show Extended Options property adds 6 more (size, weight, outline, r, g, b).
Game Flow behaviors manage the game as a whole: pausing, changing levels, saving and loading, online features, and links to the outside world.
Pause Game blocks pause the entire game, stopping all physics and game events except for mouse clicks.
Load Level blocks unload the current level and load a new level in its place. More than one level must be created in the Levels Panel for this block to have any effect.
By default, the next level in the order specified in the levels panel will be loaded, but different level can be selected in the properties panel if preferred.
Select one of the following options:
Fetch URL blocks load a url into a new window or browser tab, or load text or image data from a URL.
Access-Control-Allow-Origin header.
Save Value blocks store and load values across gameplay sessions. This is useful for saving game state such as high scores, current level, or other game progress so that it can be restored when the player returns.
Game Save blocks save and load a complete snapshot of the entire game state, including all entity positions, properties, and behavior states. Unlike the Save Value block which stores individual values, Game Save captures everything needed to restore the game exactly as it was. This is useful for implementing save/load systems, save slots, or checkpoint-style saving.
Game state is stored locally on the player's device. Up to 100 save slots are available per game.
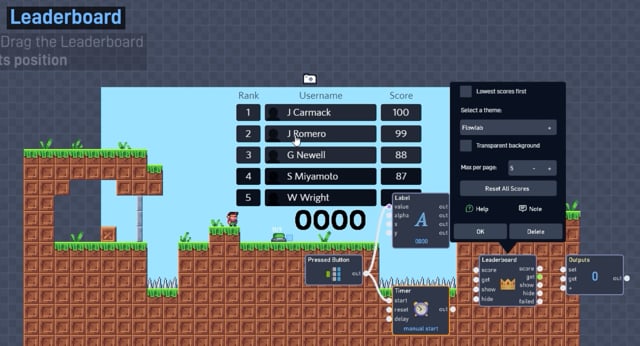
Updates and displays a cloud-based leaderboard for your game. High scores are stored per user, and a user must be logged in to Flowlab to save their score. Every game has a single shared leaderboard, and adding multiple Leaderboard behaviors will update the same score data.
Because Leaderboard data is stored in the cloud, an internet connection is required for scores to update or display.
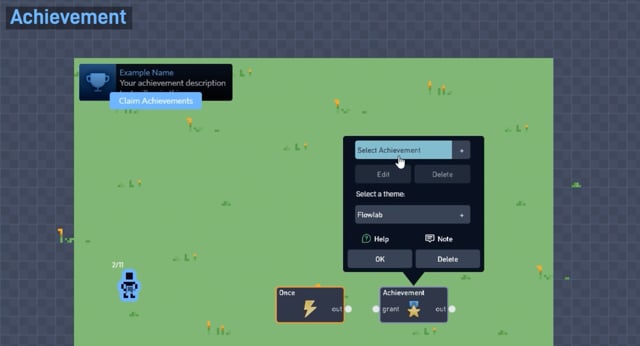
Updates and displays a cloud-based achievement for your game. Achievements are stored per user, and a user must be logged in to Flowlab to claim their achievements.
Because Achievement data is stored in the cloud, an internet connection is required to grant an Achievement
The Level Physics behavior enables you to update various physics properties for the currently running level.
100 will
set the speed to the default of 100%. A value of 50 will set the speed to 50%,
causing the game physics to run in "slow motion". A value of 200 will set the
speed to 200%, causing the physics to advance at double speed.
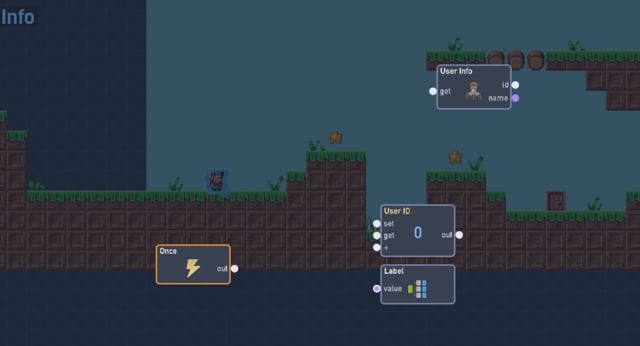
Outputs the username and user id of the currently logged in player. If the player is not logged in, then the user id will be 0 and the Username will be empty
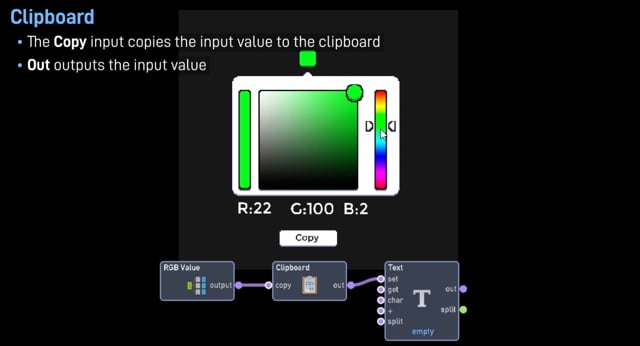
Copies the input to the player's system clipboard. Due to the browser security sandbox, This behavior must be triggered by a mouse click or key press.
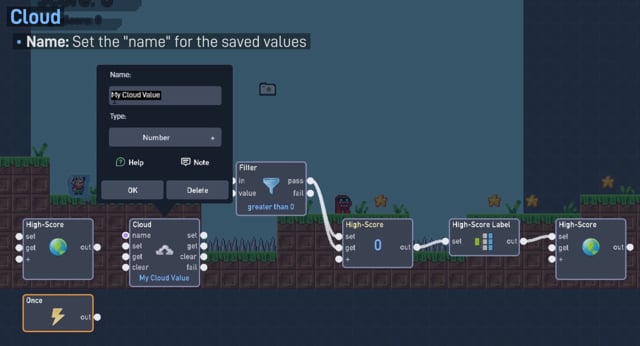
Cloud blocks store and load values to the cloud, where they can be seen by all other players. This is useful for saving shared information such as high scores, or a leaderboard.
Due to server communication delay, outputs will activate several frames after the input.
Keep in mind that uploading and downloading values takes time. Often the outputs will activate many frames after the input was received. Uploads and downloads are rate-limited, so avoid reading and writing in quick succession.
![]()
![]()
![]()
![]()
![]()
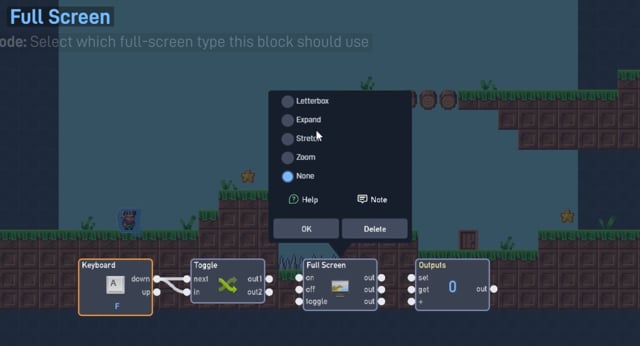
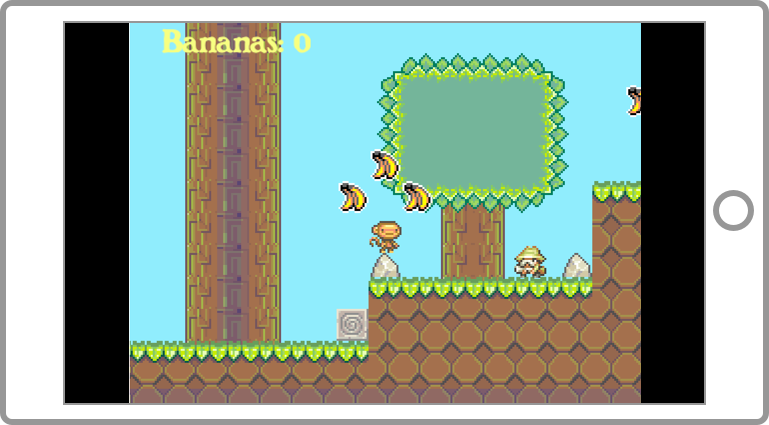
Window width and height can change when switching to fullscreen if the fullscreen mode is Expand or Zoom
These behaviors use features of phones and tablets, such as shaking, vibration, and tilt. Unless an entry says otherwise, they work only in exported mobile apps, not in a web browser.
Trigger game logic when the mobile device is shaken
Make money by displaying ads in your exported Android or iOS app using Ad Mob. This requires an AdMob account. At this time Banner and Interstitial (full screen) ads are supported.
Causes the device to vibrate for a specific number of seconds.
Outputs the x,y, & z acceleration values as a mobile device is rotated.
Display iOS Game Center Leaderboards in your iOS mobile app. (Android not yet available)
Check what type of device (Mobile App, Desktop App, or Web Browser) your game is currently running on. This allows you to alter behavior appropriately to handle e.g. game inputs when a touch screen or keyboard are available
Check whether the device your game is currently running on supports either mouse or touchscreen inputs. This allows you to alter behavior appropriately to handle e.g. game inputs when a user has just one pointer or multitouch for gestures.
For in depth discussion of the Multiplayer blocks, see the Multiplayer Handbook
Bundles package a group of behaviors into a single reusable block with its own inputs and outputs. Use them to keep large behavior graphs readable and to share logic between objects and games.
Bundles are a way to create new, customized logic blocks by assembling existing blocks into a bundle. Organizing your game logic this way has many advantages:
Any time you have a large, complex chunk of logic, consider moving it into a Bundle.
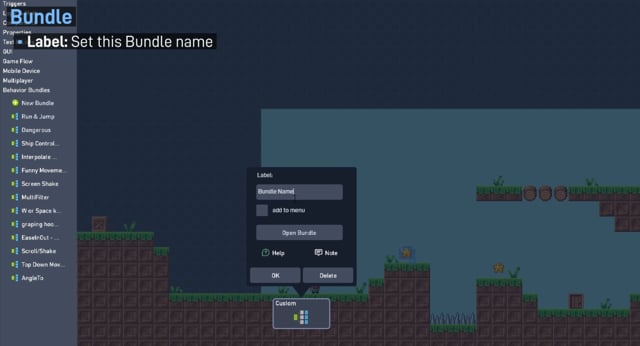
Clicking the New Bundle button creates a new, empty Bundle. Edit the contents of a Bundle by opening the block's property panel and clicking the Open button. When the bundle is open, behaviors can be added and connected as usual. Clicking the green check button closes the bundle again.
Logic can also be grouped into a bundle by selecting a set of logic blocks and selecting Bundle in the wheel menu popup.
Bundles can be nested inside of one other to build up more complex blocks.
Bundles can be given custom Inputs and Outputs by using the New Input or New Output button. In this way, bundles can be linked together just like built-in behavior blocks.
Inputs can be added with the New Input button
This adds a new Input to your behavior bundle, so that other blocks can send it input. Its name and the type of value it carries (Number, Text, or List) are set in its properties.
This adds a new Output to your behavior bundle, so that it can send output to other blocks. Its name and the type of value it carries (Number, Text, or List) are set in its properties.